
- CAT8 Ethernet Cable
- TP – LINK Jetstream 8 port managed PoE switch
- TP – LINK Wifi 6 Access Point
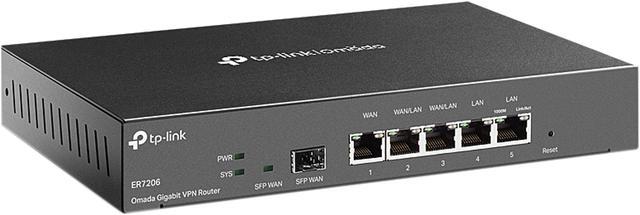
- TP – LINK High Performance Router ER7206
- NAS BY SYNOLOGY
Choosing your setup
What you need is a sufficiently powered gateway router, a managed switch with PoE, a WIFI access point, and the software behind it to provide you with a lot of features… and a NAS.
Thankfully (and regretfully), the home user does not have too many options on the market when it comes to completing this setup, because…. well, we simply don’t have THAT many devices connected on our network. We don’t need powerhouse system, like a complicated enterprise Cisco config can deliver.
I can narrow it down to my final ~4 SOHO providers:
1. Protecli
2. TP-link with Omada SDN
3. Ubiquiti UniFi
4. Netgate
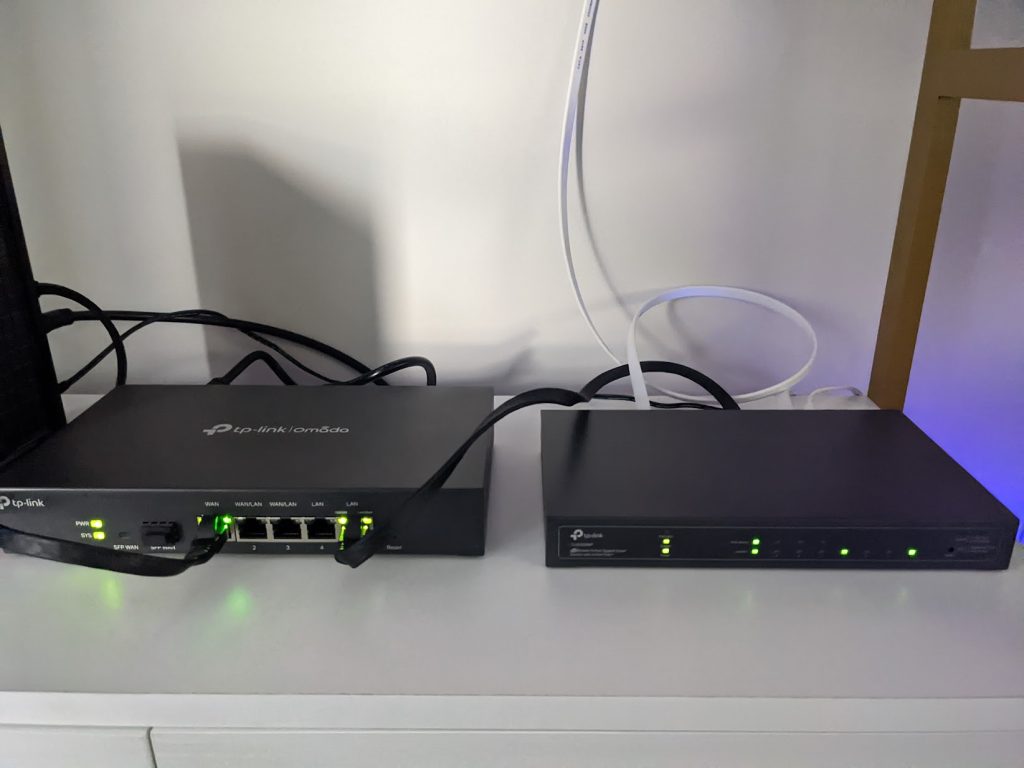
I decided to settle on TP-links OMADA setup with a Synology NAS, and TP-LINK ER7206 as my gateway firewall.
When reviewing the options for Switch, Router, and Access Point, the most cost sensible and straightforward seems to be either Unifi or TP-Link. This is because they offer the total package with an integrated controller software.
The IPS solution can be installed separately with a mini computer project.
The OMADA SDN and Ubiquti UniFi controllers are both very similar in nature, with high end GUIs and simple, intuitive design, with the some of the following options:
| VPN | FIREWALL | URL/MAC/IP FILTERING |
| ACCESS CONTROL (BY VLAN, NETWORK, ETC) | ADVANCED WPA3 ENCRPYTION | CAPTIVE PORTAL WITH CUSTOMIZED PAGE |
| TOPOLOGY MAP OF YOUR NETWORK | ROUTING WITH NAT OPTIONS | WIFI OPTIMIZATION |
| DDoS DEFENSE | VISUAL ANALYTICS | INSIGHTS |
I ended up going with TP-Link simply because it’s more cost efficient and I liked how their products had the more retro/real networking appeal (blinky blinky!)
Intial Set Up of the Network
First check your modem that your ISP gave you, connect to the modem admin page (usually 192.168.0.1), turn off gateway mode and disable WIFI. Every modem is different, so view your settings online, sometime it’s called “bridge mode” instead of gateway.
Next, connect a CAT8 ethernet cable from the LAN port of the MODEM to the WAN port of the new Router. Connect the Router (LAN) to the Switch, and the Switch to the Access Point, NAS, laptop, and whichever other device you want to be on ethernet cable. Your laptop should receive internet right away.
Install the Omada Controller software from the web, or use the omada controller hardware and create an account. Once you are logged in, you should see all your devices being provisoned and the clients that are connected to them. There is a great video here on how to set up the OMADA software with your devices:
Advanced Configuration
So, from person to person, needs will be different. Basically, you need to decide how advanced you want to take it once you are in this step, you are already ahead of many SOHO users. For myself, I set up VPN, configuring a different subnet for all devices, set up VLANs, separated my IofT using ACL, set up a GUEST network with a portal, made some adjustments on the FW settings, reviewed NAT and port forwarding, change my DNS settings, monitor dashboard analytics, and my connected clients.
In a separate blog, I talk about how I set up an IDS/IPS on my network, please review it here: https://danielshmulevitch.com/secureyournetworkwithidsips/(opens in a new tab)
Configure private subnet LAN networks with different VLANs for defense in depth. Separating your network with your Access Point via guest network, IofT, captive portal. Binding this with ACL.
Here are a couple tips to do this:
- Ensure you have a primary network, this will be the one with the router, switch, AP, secure laptops, etc. On this network, make the subnet something unsuspecting and unfamiliar, ex: 10.54.45.1/24
- For anything IofT, imagine your cheap lightbulbs that connect to random servers for updates, google home etc. Put this on a different subnet, ex: 192.168.90.1/24. The challange here is if you have a chromecast, you will need to be on the same network to cast.
- Both of these LAN networks will be placed on a separate VLAN, and a separate SSID then set up ACL rules on the AP and Switch, that both of these networks DENY ALL communication with each other. Check this by using CLI to ping the other network and vice versa.
- Finally, create a guest network with a portal for your Guests – this makes sure your home network will be separated from any activites they do on their devices.
Your own VPN server.
It’s cool to be able to connect directly to your home network from anywhere in the world. You can be in the exact same subnet and access shared file securly over VPN. With Omada, there are 2 good ways to do this, with L2TP or OpenVPN. The problem with the OpenVPN option on Omada is that there is no way to setup a user/password. You export a file which you can upload into your openVPN client. This is crappy.
With L2TP, you can set up a user and password, allowing you to connect on any device with a L2TP client, such as any windows laptop.
Configure a NAT rule (if you have a website or port you need to open to the wild)
If you have a website accessible from the wild, or any internal service use a NAT port forwarding rule. For this, please read my Secure a Website Guide.
Complete Automatic Backups
Creating a backup is important so you don’t lose critical information or changes you made after things have gone astray. Typically, you either save locally or to a FTP server. Omada makes this step easy, go to Auto-backup and I do an automatic backup on each Sunday for the past 7 days to the NAS, locally will store it in the same path as the controller.
What Device To Use For the SDN Controller
If you chose not the buy the hardware – my recommendation is to either run it in a mini computer – or on a NAS via docker.
Comments are closed